When it comes to laminating documents and materials, you may know about hot GFP laminators that use heat to seal items in a protective plastic film. However, these can take astronomical amounts of energy to ramp up and aren’t the greatest for delicate materials.
That’s where cold laminators come in. Unlike their hot counterparts, these laminators are gentle on temperature-sensitive materials and convenient because there’s no warm- up required.
What Is a Cold Laminator?
Cold laminators use a pressure-sensitive adhesive that allows you to laminate items like posters, signs, photographs, POP displays, single-side stickers, graphic mounts, colored vinyl, and delicate documents without exposing them to high temperatures.
The adhesive is pre-applied to the laminating plastic film, which is then pasted onto your materials or documents using pressure. This process delivers superior-quality documents and eliminates the hassle of using heating elements.
Why Use a Cold Laminator?
Why should you use a GFP laminator? Here are five reasons:
1. Versatile
Because you don’t need heat, you can laminate a wider range of materials, such as posters, signs, photographs, classical books, or ancient pages. Even delicate materials aren’t too much with cold laminators.
2. No Wait Time
Hot laminators require a warm-up time to ramp up to between 250 and 300 degrees (usually three to ten minutes), so you have to turn them on before you plan to use them.
If you use the wrong temperature, pull open the rollers, or forget to turn the fans on, your film can become wavy, ruining the finished product. That doesn’t happen with GFP cold laminators because they don’t have to be ramped up to speed.
3. User-Friendly
Cold laminators come with easy-to-use control panels, adjective setting options, and a wide range of film compatibility, ensuring that even those new to lamination can get great-looking, professional results with little effort.
Plus, cold laminators are easy to maintain as you don’t have to clean spools or blades, troubleshoot, or change hot tip supplies.
4. Environmentally Friendly
Using cold GFP laminators means you don’t need to breathe through plastic-smelling fumes or risk burning your fingers off when touching the laminators’ surface. Plus, as you aren’t contributing to harmful gas production, you can help keep the environment safe.
5. Better Quality
With a cold laminator, you don’t need to leave a ridge of film around the outside of your document or material to keep it intact. Instead, you can cut right through the paper or as near to it as possible without ruining the finish. This creates a better-looking product that lasts for years. Plus, there’s little chance of bubbling with cold laminators because they use heavier rollers.
How to Choose the Right GFP Laminator
Here are a few considerations:
1. Determine What You Want
Before deciding on a GFP laminator, consider the documents you’ll be laminating. Are they a standard size like A4, A2, or A1, or are you going to laminate several sizes, from banners to postcards?
2. Think About the Film Thickness
‘Mil’ is the unit used to measure laminating film, such as that produced by Avery Dennison. The larger the mil, the thicker the laminate will be. Plus, higher mils are rigid, while lower mils are more flexible.
If you’re working on both sides of the mil spectrum, such as 1.5 mil to ten mil, you should opt for a cold GFP laminator that comes with a roll support adapter.
3. Learn Your Usage Requirements
If you’re looking to churn out hundreds of laminated documents and materials weekly, you should consider getting a bigger cold laminator. This is because this machine will be able to easily handle the load.
4. Consider Your Budget
A cold laminator is an investment, and a hefty one. However, a laminator isn’t a once- buy and rest-easy purchase because you’ll have to pay for the film supplies over time. Fortunately, GFP laminators come in various price ranges, so you can find a machine that fits your budget.
How to Use a Cold Laminator
Every brand-specific cold laminator comes with specific step-by-step instructions for how to use it. However, the basic steps are similar.
1. Prepare Your Documents
Make sure the document or material (such as stickers, banners, photographs, POP displays, or colored vinyl) is clean, dust free, and properly aligned. You can trim any edges at this point if needed.
2. Set Up Your Laminator
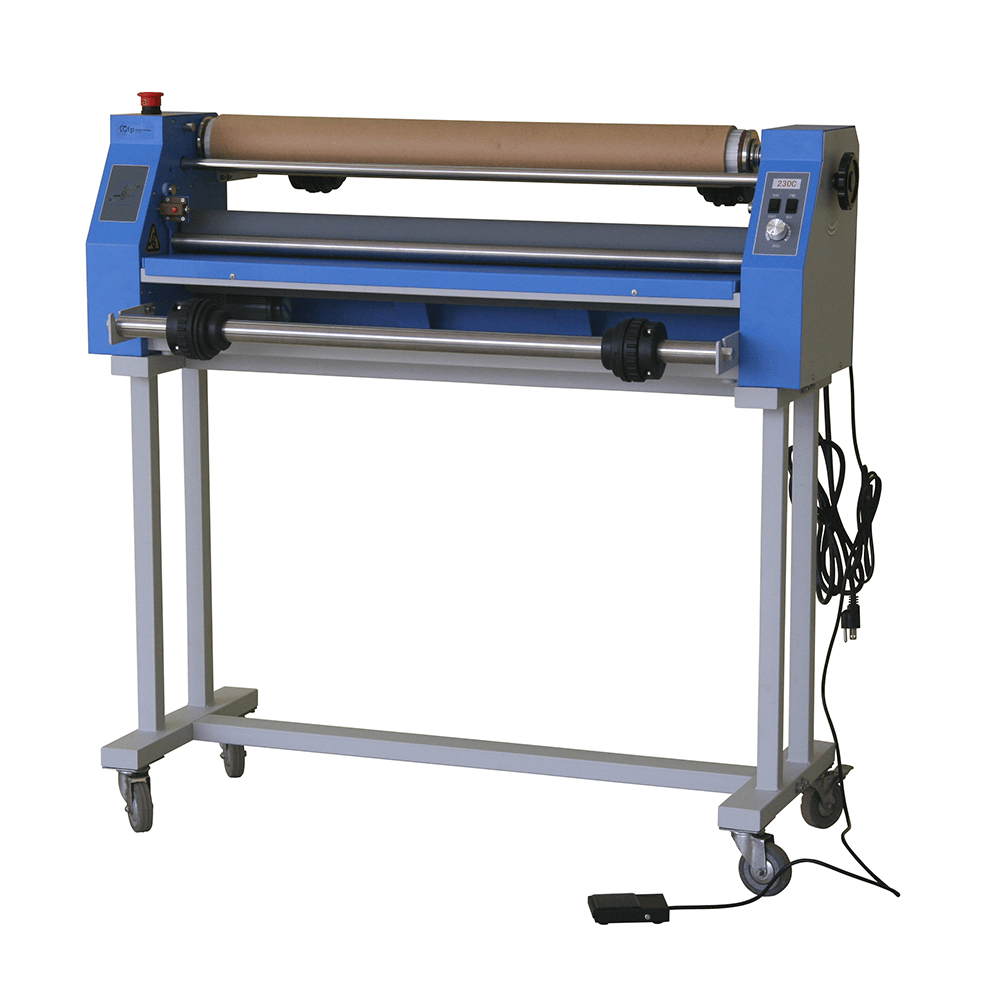
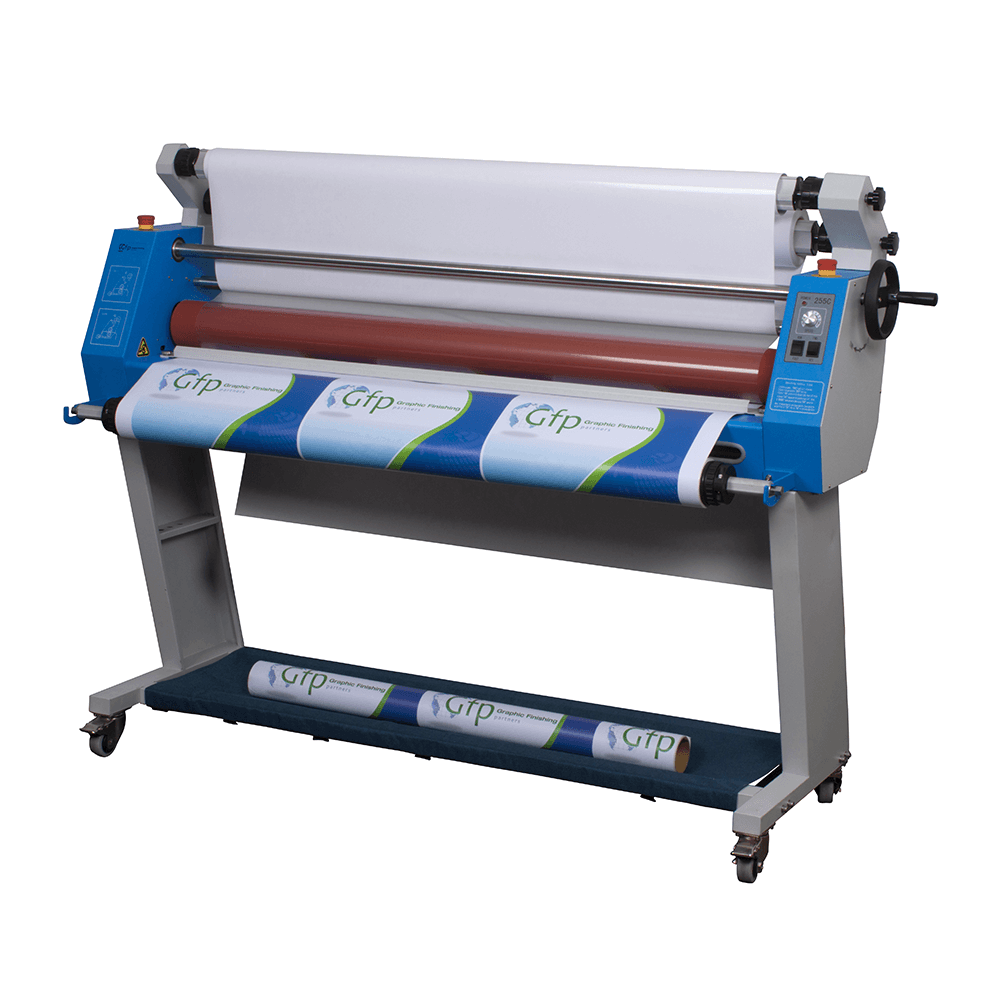
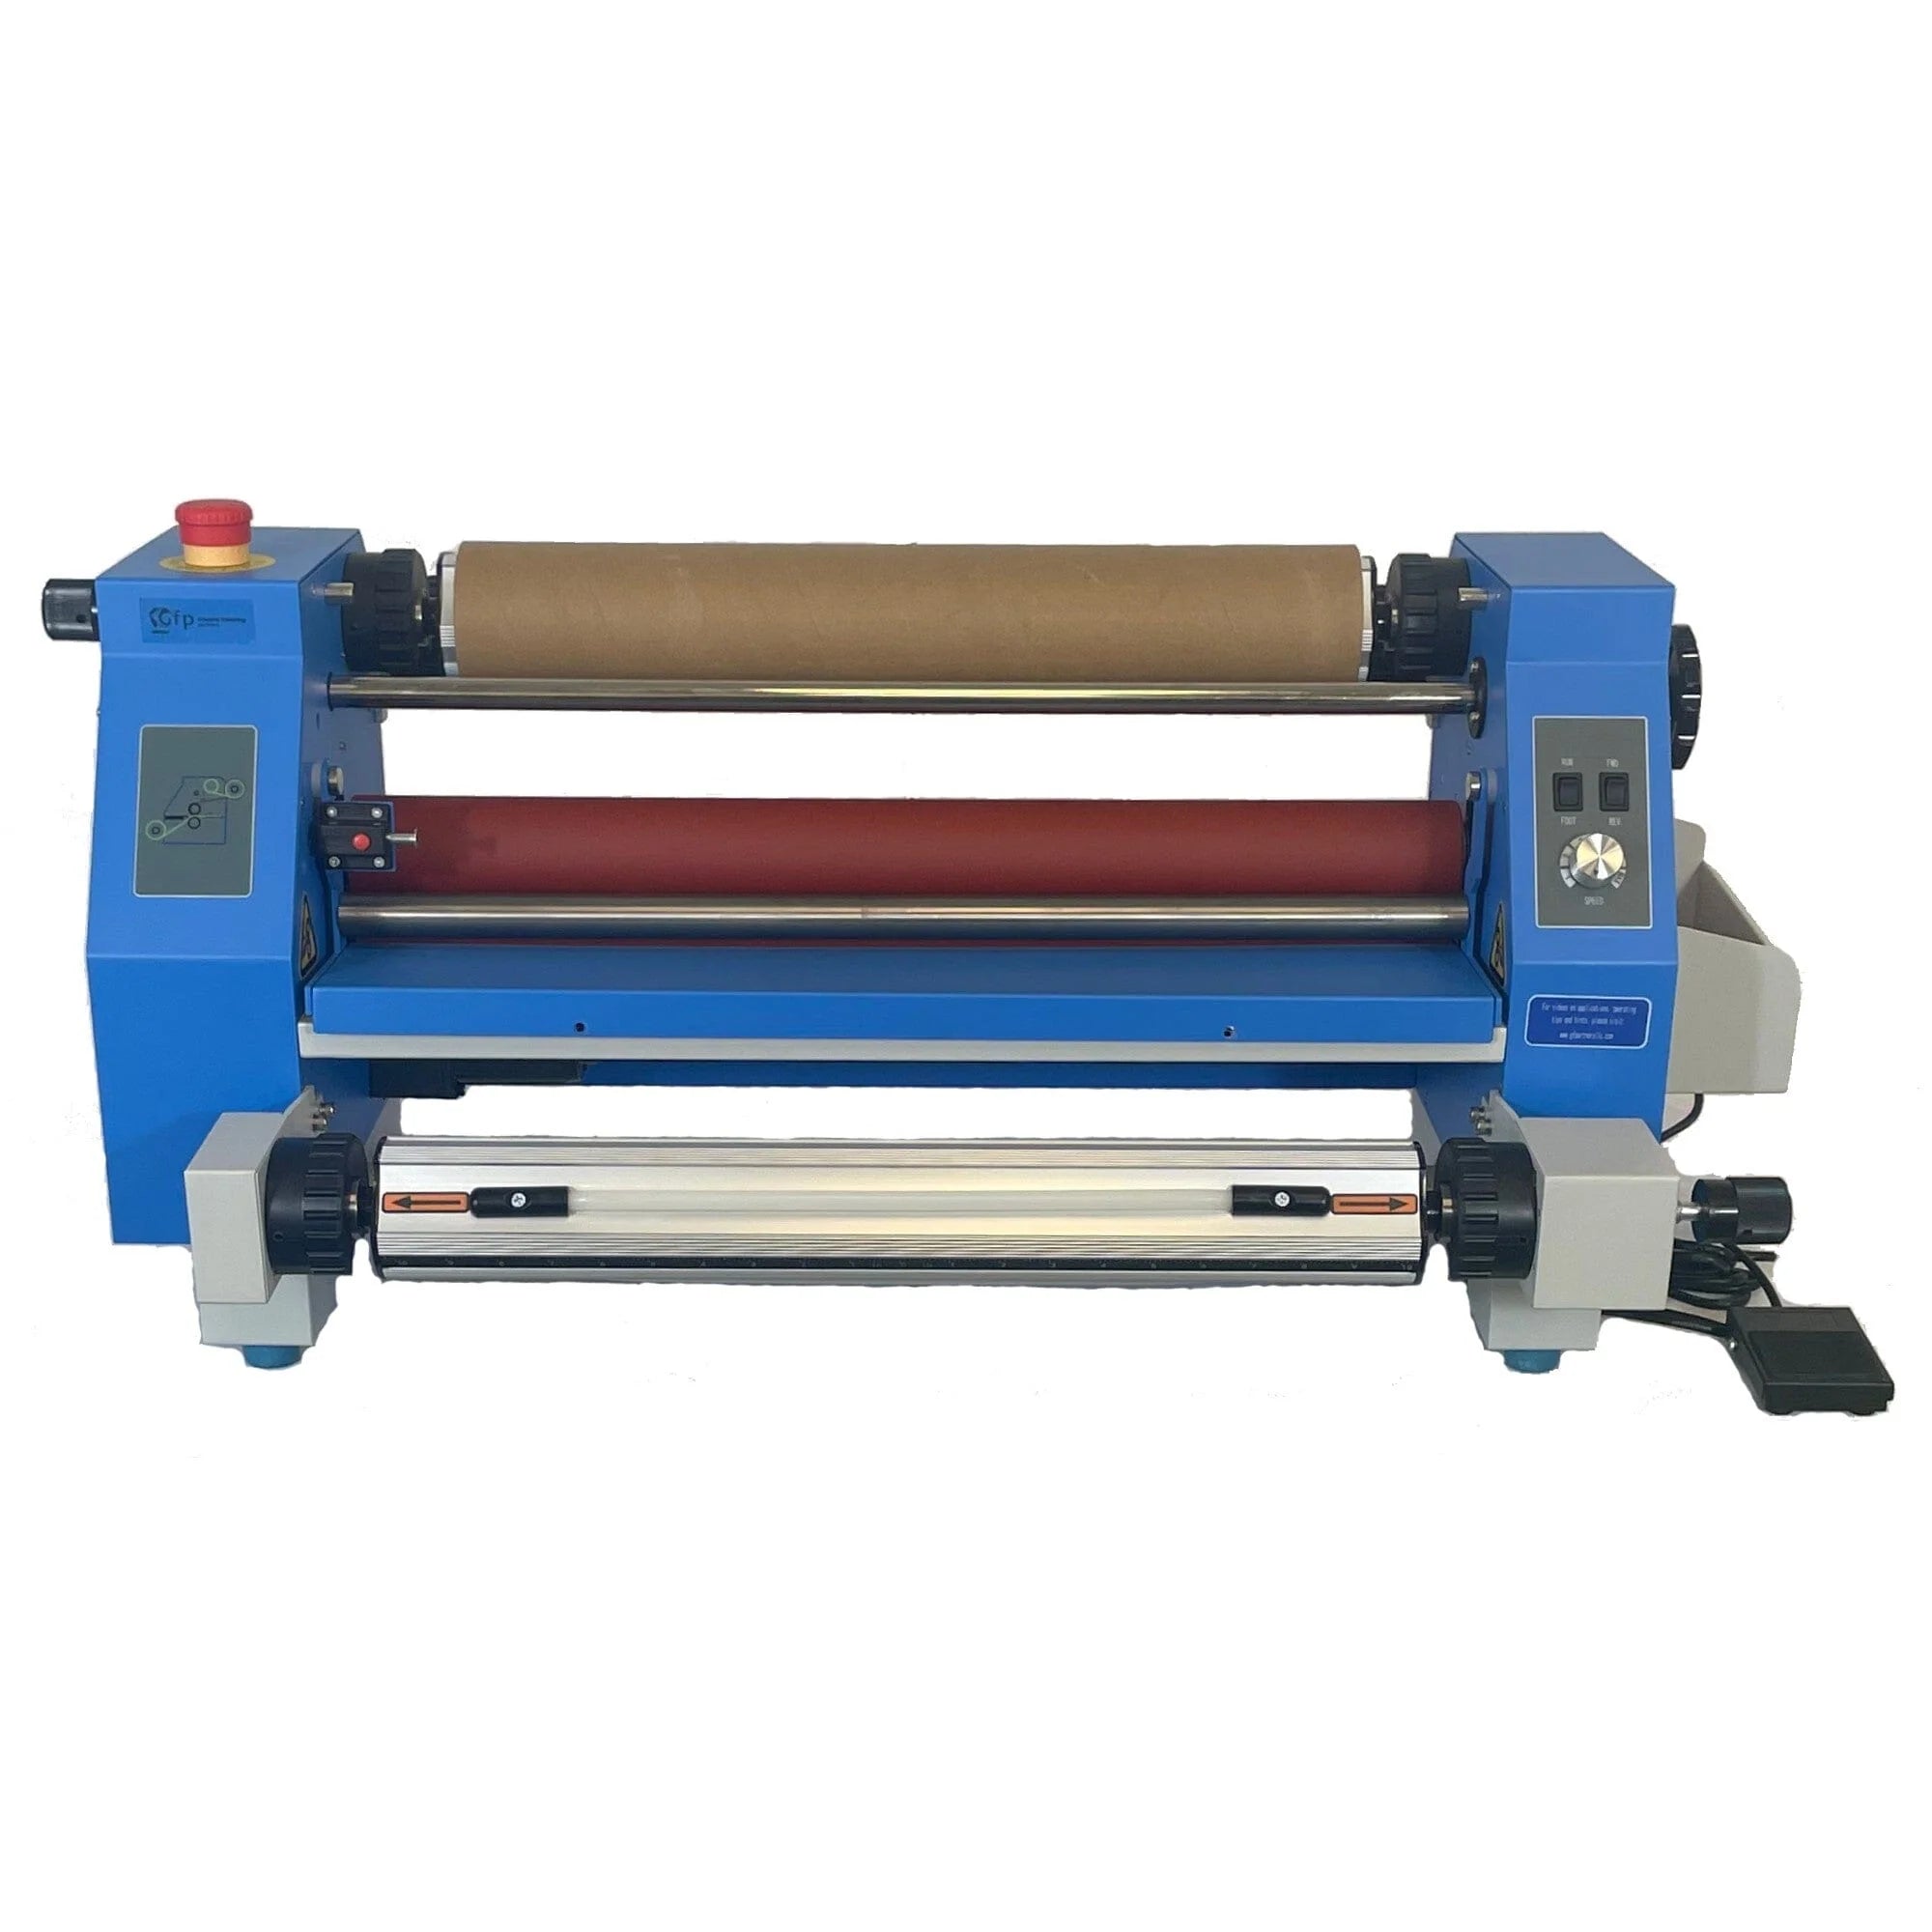
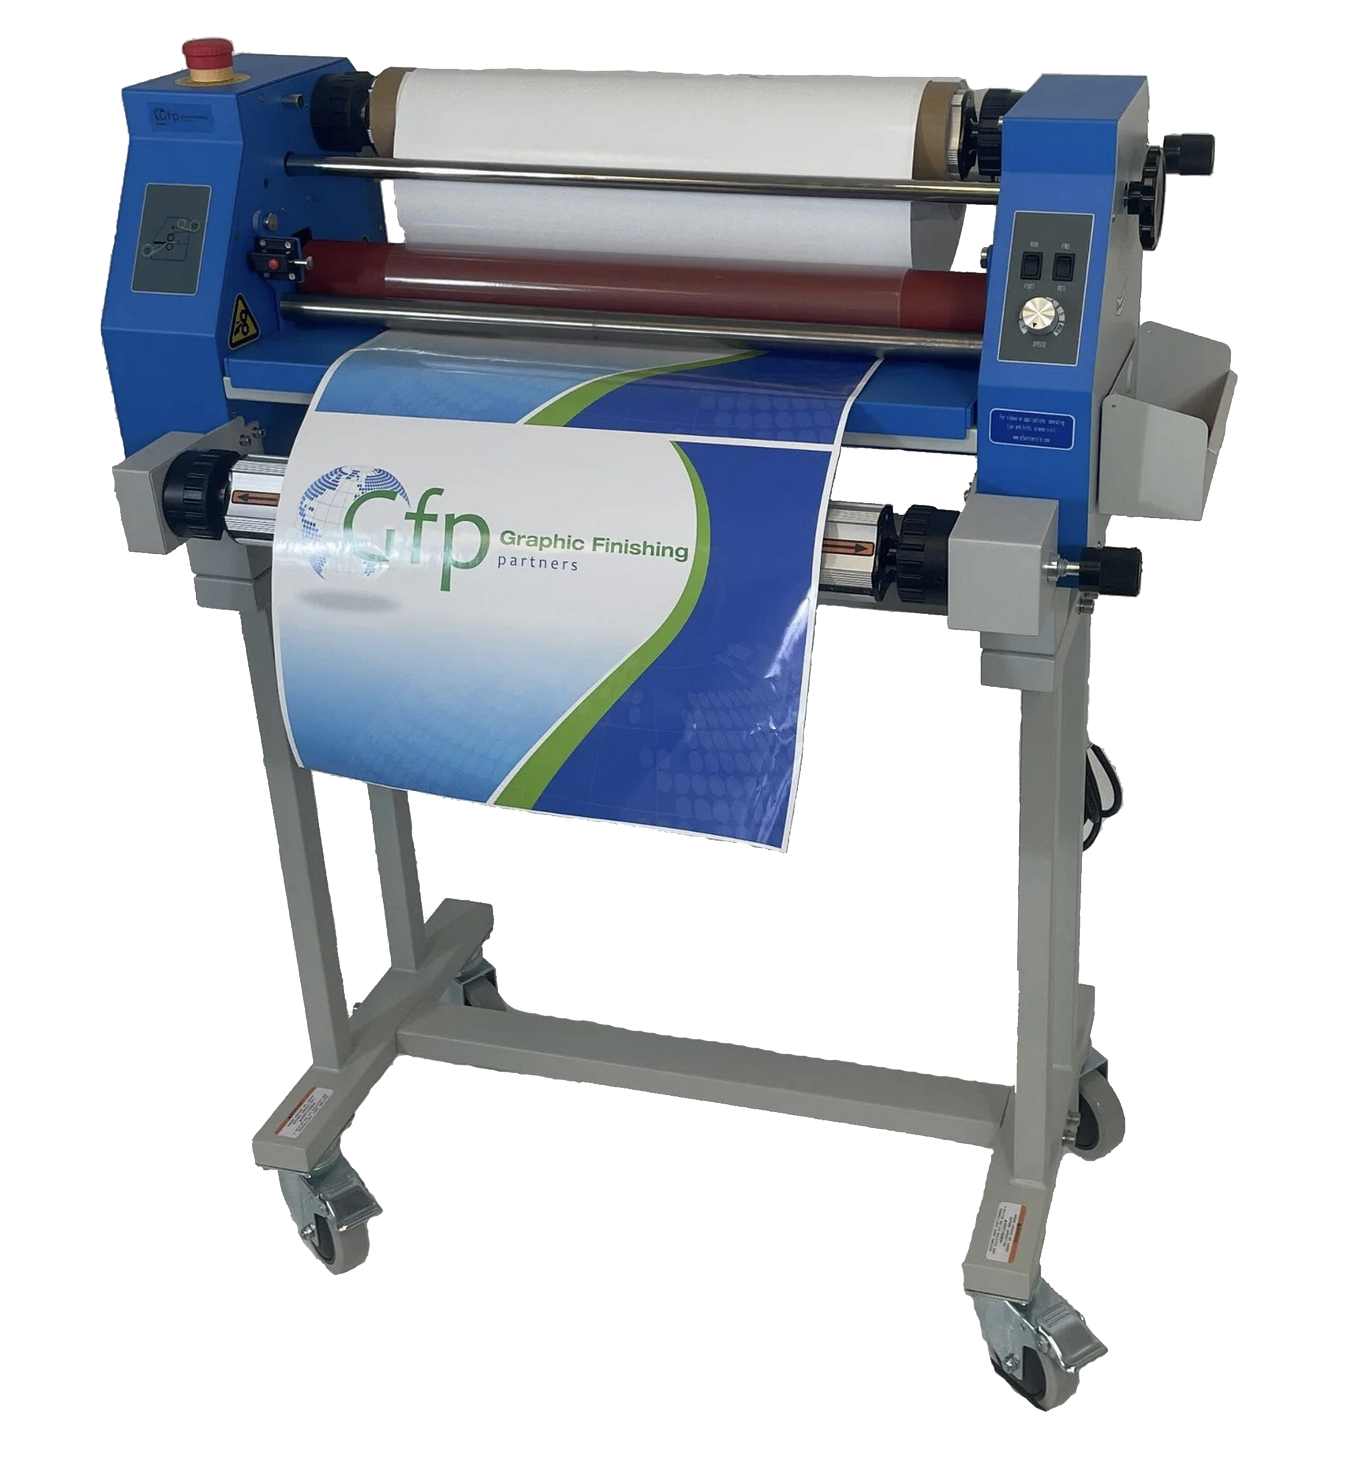
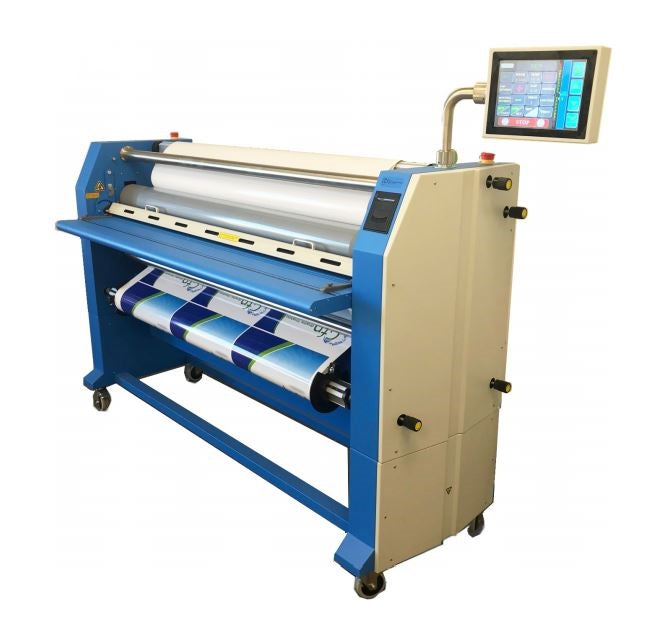
If you’re using a portable cold laminator, such as the GFP 230C series, place it on a flat and stable surface, such as a wooden table or a steel stand. However, if you’re using a larger GFP laminator, such as the GFP 263C, you should have it pre-mounted.
3. Load the Lamination Film
If you haven’t already loaded the lamination film, it’s time to open the cradles, lift the shaft out, insert it through the roll of lamination film, make sure it's aligned by lining up the tongue and the groove, and close the cradles.
You can repeat these steps for the top and bottom rollers if you’re using the roll-to-roll lamination method. However, to make sure you’re doing everything right, you should consult your GFP laminator’s booklet.
4. Place the Document/Material on the Feeding Tray
Now that you’ve loaded the rollers, separate the film from the release liner, roll the first inch of the film so it doesn’t stick to the cold laminator, and drape it over the roller. After this, you’ll bring your feet tray up, lock it in place, and tack the bottom roll over the laminate.
Once that’s done, you should push the laminate-printed material under the roller–right into the nip area. You might need to raise the roller to do this. Make sure it’s nice and snug so it won’t buckle or bubble.
After that’s done, close your roller until you feel it touch, then use the foot pedal or the run button to start the lamination process.
